
A leaking roof is one of the most common problems that homeowners face. If left untreated for too long, a leaky roof can cause serious damage to your home. Eventually, the roof may even collapse, putting you and your loved ones at risk of being injured.
What should you do if you suspect your roof has a leak? We’ve put together this quick guide to the steps you can take to make that determination and what to do next.
1. Look for Signs of a Leak
Sometimes, it’s easy to tell if your roof is leaking. You may see water stains on your ceiling or walls, or you may hear dripping sounds coming from the attic. If the leak is bad enough, you may even see water coming through the ceiling or walls.
Other times, leaks are more subtle. You may not see any water, but you may notice that your water bills are higher than usual. You may also notice that your heating or cooling bills are suddenly higher. This could be because cold or hot air is coming into your home through the leak, causing your furnace or air conditioner to work harder to maintain a comfortable temperature.
If you suspect that your roof is leaking, it’s important to take a closer look. First, check the condition of your shingles. Are they cracked, curled, or missing? If so, this could be causing water to leak into your home.
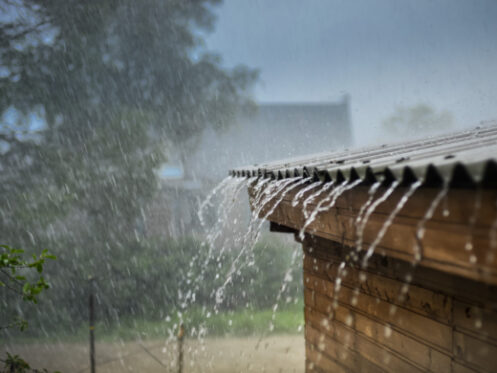
Next, take a look at your gutters and downspouts. Are they clean and free of debris? If not, this could be causing water to back up onto your roof, where it can seep under your shingles and cause a leak.
Finally, check the attic. Do you see any water stains on the ceiling or walls? Is there any mold or mildew present? These signs are a strong indication that your roof is leaking. The next step is to call in the professionals.
2. Get a Professional Inspection
If you notice any of the above signs, the best thing to do is to call a roofing contractor for an inspection. They will be able to determine if there is a leak and, if so, how bad the problem is.
During an inspection, the contractor will likely take a close look at your shingles, gutters, downspouts, and attic. They may also use special equipment to check for leaks, such as infrared cameras or moisture meters.
After the inspection is complete, the contractor will provide you with a report that details their findings. This report will help you make the best decision about how to proceed with repairing your roof.
3. Make the Repair
Once the cause of your leaky roof is confirmed, it’s time to make the repair. The type of repair you’ll need will depend on the severity of the leak and the amount of damage that has been done to your home. The contractor will refer to your roofing professional’s report to help them make this decision.
For minor leaks, a simple patch job may be all that’s needed. The roofer will simply apply a sealant over the leaky area to stop the water from coming in. For more serious leaks, the roofer may need to replace some of your shingles.
In some cases, the entire roof will need to be replaced. This is usually only necessary if the roof is very old or if it has sustained significant damage. At Maryland Roofing, we’ll provide you with an itemized estimate with transparent pricing before any work begins.
4. Prevent Future Leaks
After the leak has been repaired, it’s important to take steps to prevent future leaks. First, you should have your gutters and downspouts cleaned regularly to ensure that they are clear of debris.
You should also have your roof inspected at least once a year by a professional roofing contractor. They will be able to catch any potential problems early on and make the necessary repairs before they become serious.
Whether you have an active leak or you’re simply concerned about preventing one, Maryland Roofing Company is at your service. Our experienced roofing professionals can help you with all your roofing needs, from repairs and replacements to inspections. Contact our industry-leading team today to get started.